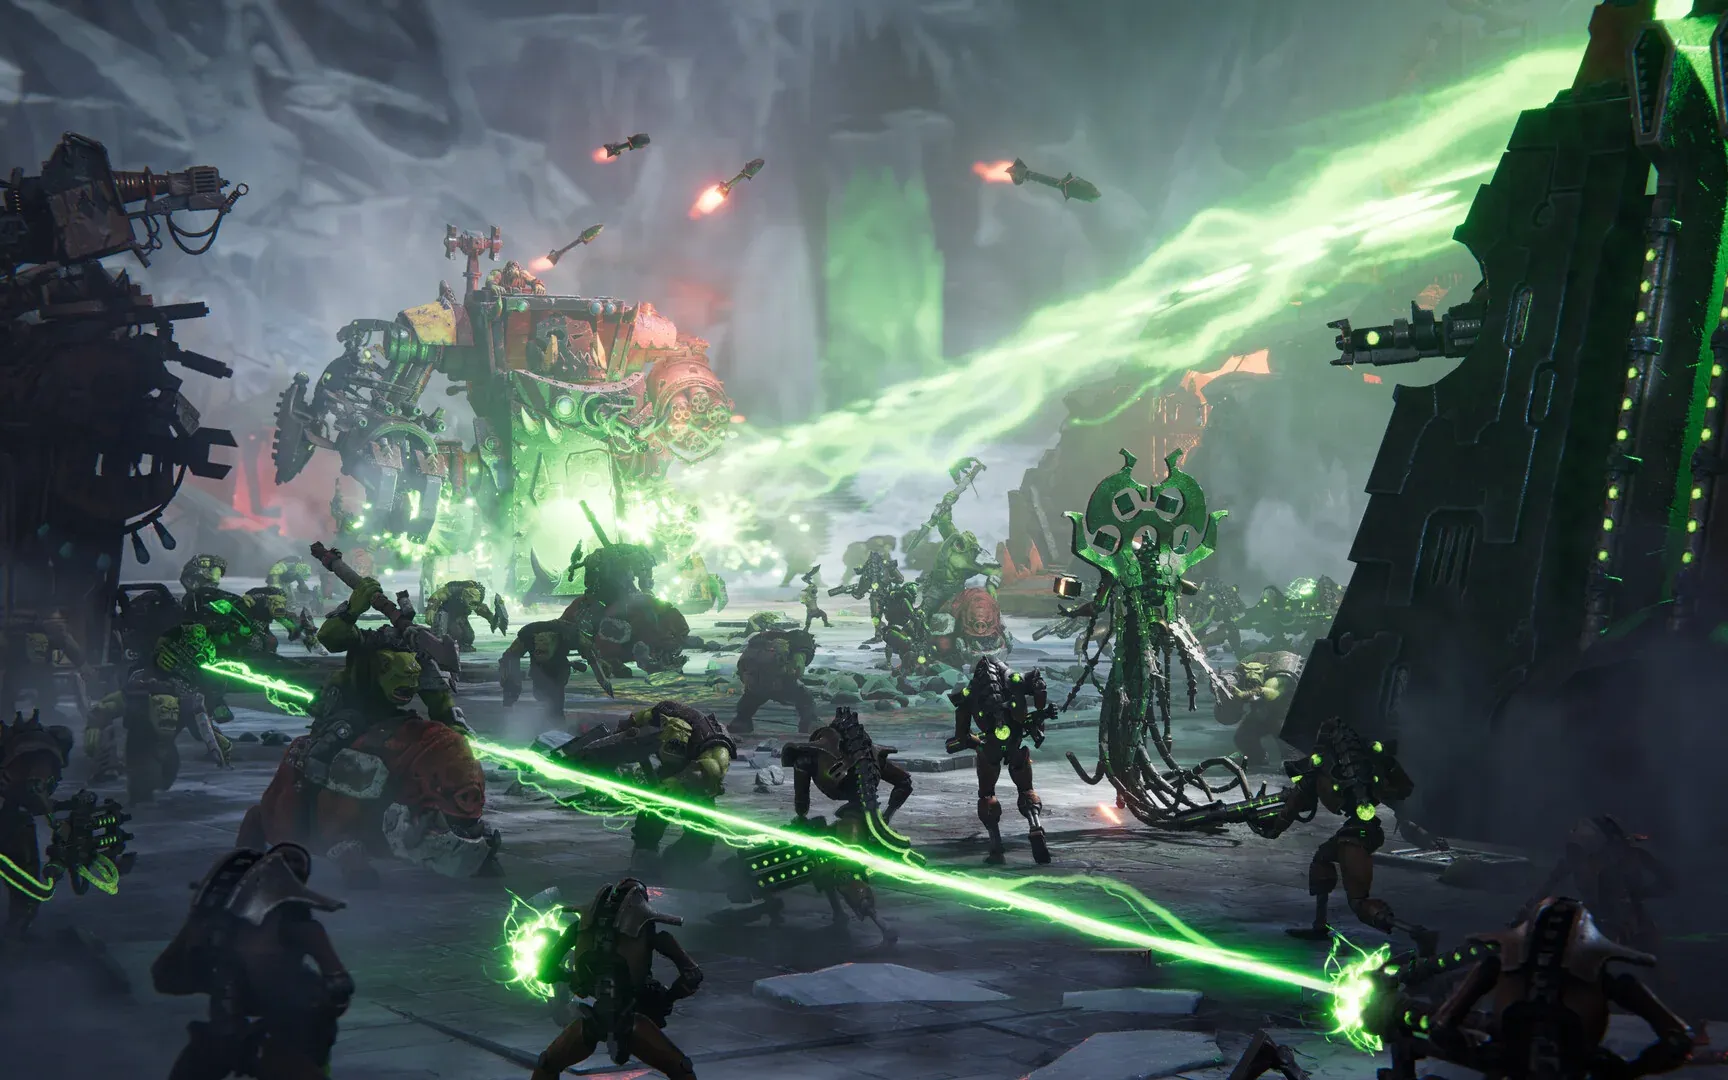
Last Stand is the arcade-shaped corner of Dawn of War IV: three players, one shrinking perimeter and twenty waves that are designed to break a team that has not planned its loadouts. It is not a hero arena. Each Commander brings a small strike force, and the mode rewards positioning and resource discipline as much as damage.
What Last Stand is — and what it is not
Last Stand returns from Dawn of War II, but KING Art has deliberately moved it away from the “single hero” shape. Each player controls a Commander and a Strikeforce of companion units. You still have a hero fantasy, but you also have squads to position, reinforce and sacrifice. The mode is described by the developers as RTS meets arcade: wave defence with a score attack on top.
The objective is to survive all 20 waves, but survival is not the only score. The team is scored on how quickly waves are cleared, how long Commanders stay standing and how effectively the team holds three strategic locations. That means the “safe” play — hide, kite, wait for cooldowns — can produce a worse result than a controlled aggressive defence.
The five launch Commanders
Five Commanders are playable at launch: one for each faction, plus both Space Marine Chapters. More are planned after launch. In the Last Stand lobby they appear under generic titles; the campaign characters behind them are listed below.
| Commander | Faction | Campaign character | Identity |
|---|---|---|---|
| Captain | Space Marines — Blood Ravens | Cyrus | Vanguard leader; stealth and ranged kills |
| Chaplain | Space Marines — Dark Angels | Ezrael | Fast bike assault with the Ravenwing |
| Warboss | Orks | Gorgutz | Slow, heavily armoured melee bruiser |
| Chronomancer | Necrons | Thothmek | Time manipulation, repositioning and protection |
| Technoarcheologist | Adeptus Mechanicus | Potentia-Delta-9 | Scouting servo-skull and support tools |
Deep Silver confirms five launch Commanders; the generic titles in this table come from press and community documentation of the mode. The Chaplain and Warboss are the most directly physical of the five. The Chronomancer and Technoarcheologist are support-shaped. The Captain sits between the two, with ranged lethality and stealth. That does not make any of them a mandatory pick; the launch build’s balance is not public yet, and the mode is designed around loadout combinations rather than a single correct team.
Loadout and progression: options, not stat inflation
Before a match, each player configures their Commander. Press and community documentation list five slot groups: Weaponry, Armour, Wargear, Command Items and Companion Units. Commanders earn XP from matches, unlocking new gear, abilities and units. Press and community documentation report a level cap of 30; Deep Silver’s written briefing confirms progression but not the cap. The important design detail is that progression is described as opening more options, not simply making the Commander’s base stats bigger.
That means a high-level player is not automatically a stronger version of a low-level player; they have more tools to solve the wave composition in front of them. Build for the team, not for a screenshot. If your team already has two melee bruisers, a third melee loadout may be less useful than ranged anti-armour or a support ability that keeps the line alive.
Companion units: four slots, three jobs
Each Commander can bring up to four companion units, drawn from regular faction units. They have their own specialisations to unlock, and they do not reinforce automatically like campaign squads. The official Last Stand report describes using a garrison to keep Intercessors alive, placing mechanised guns, and bringing a mix of ranged and melee companions to cover the Commander’s weaknesses.
Think in three jobs rather than four favourites:
- Screen: something that stands between the wave and your damage dealers. Melee companions, cheap infantry or a durable Commander can do this.
- Damage: anti-infantry for hordes and anti-armour for vehicles and walkers. A single damage type will eventually meet a wave it cannot kill fast enough.
- Utility: healing, repair, disruption, area denial or extra deployment. The mode’s score rewards tempo, and utility is often what preserves tempo.
Companion units that die return after a set number of waves, shown by a red skull counter. Expensive or powerful units take longer to return. Losing a key companion early is therefore not just a temporary loss of damage; it can cost you the next two waves.
Three points, one healing economy
Each Last Stand map has three strategic locations. Holding them does more than score: controlling all three grants three medicate supplies per wave, which can be used to heal damaged squads. Supplies are use-it-or-lose-it; unused crates do not stack indefinitely.
This creates the central tension of the mode. You can retreat to the centre and protect your Commander, or push out to hold points for healing and score. A team that gives up all three points may survive a wave but lose the sustain to survive the next one. A team that overextends to hold all three may lose the Commander and the survivor multiplier.
Retreating sends units back to the centre, near the health crates. That makes the centre a reset button, not a winning position. Use it to rearm, then go back out.
How score works
The score is built from three multipliers:
- Time: clearing waves faster increases the multiplier.
- Survival: keeping Commanders standing keeps the multiplier high; losing them reduces it.
- Control: holding strategic locations increases the multiplier and supplies healing.
Higher scores mean more experience, which means more unlocks. The practical implication is that a clean, fast wave is worth more than a slow, messy one even if both are survived. Do not spend five minutes kiting the last enemy if you can finish it and reset for the next wave.
Surviving the waves: practical priorities
The launch build’s exact wave table is not public, so this is a set of principles drawn from the official Battlefield Report rather than a wave-by-wave script.
- Kill the builders. If the enemy is raising mechanised guns or fortifications, killing the builder units can be faster and safer than attacking the structure.
- Respect artillery and area damage. Spread formations before a bombardment, not after. Bomb Squigs and massed Guard artillery punish clumped squads.
- Prioritise the wave’s specialist. Eliminators, Eradicators, Dreadnoughts and Meganobz each demand a different response. Identify the unit that can actually kill your army and deal with it first.
- Use cover and garrisons early. They do not respawn during a run, so spend them while they still buy you time.
- Do not heal too early. Some loadouts gain power at low health. If your Commander is safe, a delayed heal can be more valuable than topping up immediately.
- Hold at least two points. Three is better, but two is often the difference between one heal per wave and none.
- Reset between waves. Reposition, repair, heal and check cooldowns. The next wave starts whether you are ready or not.
Building a team: roles over tier lists
A stable three-player composition usually wants a frontline, a ranged anchor and a flex slot. The frontline absorbs the first engagement and creates space; the ranged anchor kills from behind it; the flex player covers whatever the wave demands. You can build that from any three Commanders, but the launch roster makes some pairings natural.
- Chaplain + Technoarcheologist: the Chaplain’s mobility disrupts the wave while the Technoarcheologist provides ranged support and utility.
- Warboss + Chronomancer: a durable melee anchor with time manipulation to reposition or protect it.
- Captain + any support: the Captain’s ranged lethality benefits from a screen and a source of sustain.
These are role descriptions, not a claim about the strongest launch composition. The mode’s balance will be settled by live play, and KING Art plans more Commanders after launch.
What is still unknown
Deep Silver has not published the full companion roster, the exact wave compositions, the number of Last Stand maps or the post-launch Commander schedule beyond the roadmap’s Lord Ahmnok and Guzcutta scenarios. We will update this guide after launch with verified wave data rather than guessing now.
For the competitive mode, read the multiplayer briefing. For faction mechanics that carry into Last Stand, open the faction files.